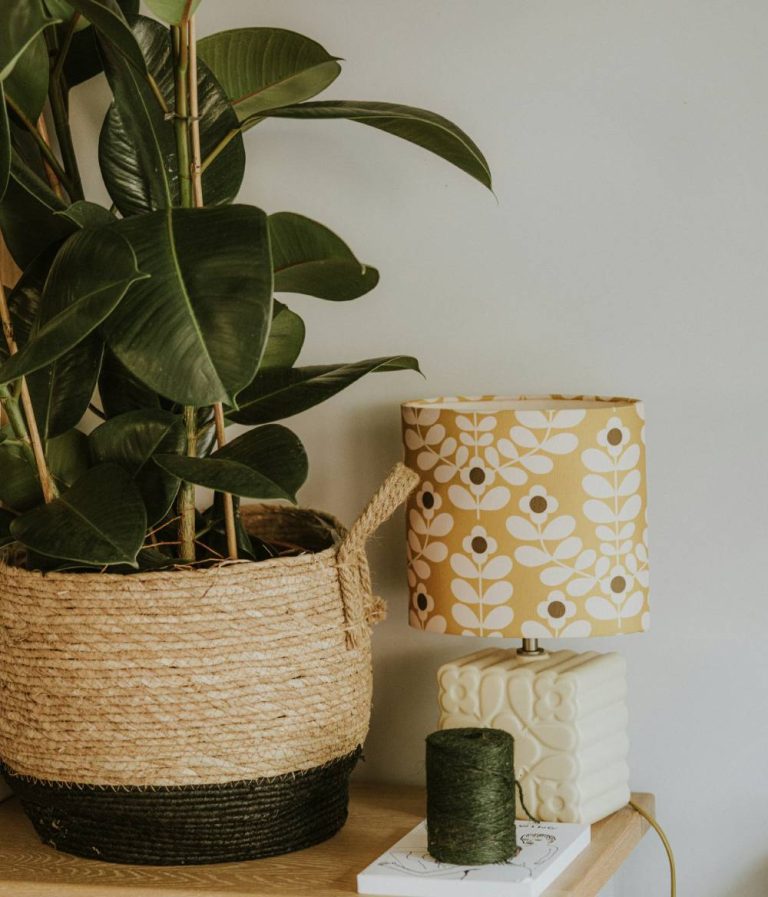
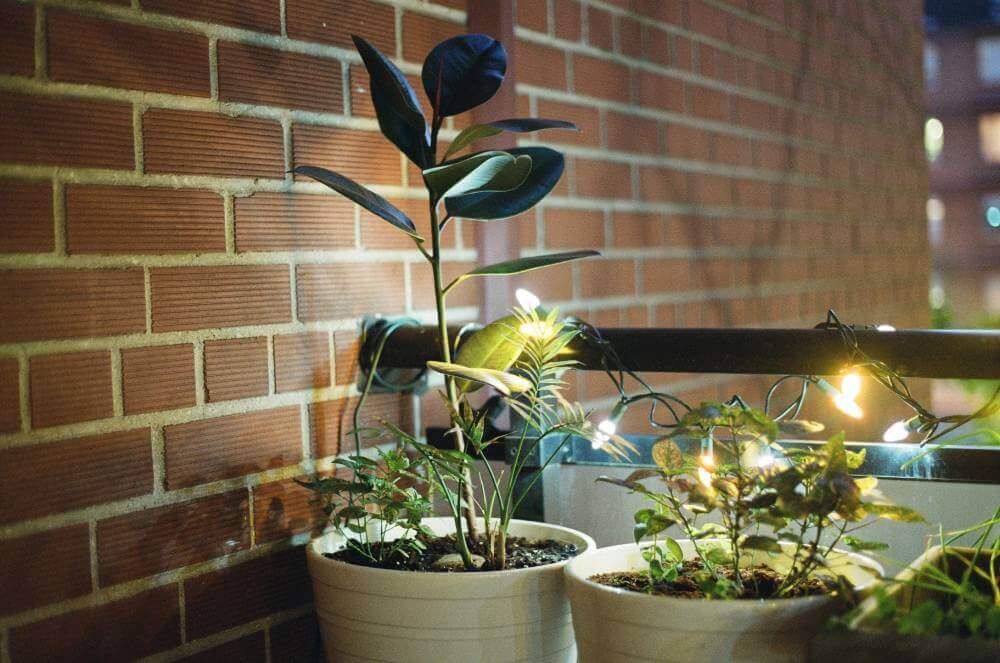
Is there a perfect houseplant? One that is easy to care for can thrive for years and boasts timeless beauty? I believe the rubber tree checks all those boxes. With its glossy, thick leaves, this tree makes a striking statement in any room.
One of my favorite memories of a rubber tree comes from a scene in the movie Sabrina featuring Audrey Hepburn. In that scene, during a lavish party, a stunning tall rubber tree stands proudly in the room. That rubber tree has become a plant goal for me.
Perhaps one day, mine will grow to be that big and beautiful! With the right care, a rubber tree can reach heights of up to 10 feet (and sometimes even taller) when grown indoors!
Known scientifically as Ficus Elastica, the rubber tree hails from India and parts of tropical Asia. Its shiny, leathery leaves give it a unique and distinct appearance. There truly is nothing quite like it! The rubber tree has a wonderful shape and is an excellent choice for anyone who loves houseplants.
Potting Your Rubber Tree
When you bring home a new rubber tree, there are several important considerations regarding potting it. While it might seem tempting to place your plant in a large pot for ample room to grow, the rubber tree actually prefers to be a bit crowded in its pot.
Choosing the Right Pot
Aim for a pot that provides about 2 inches of soil around the entire diameter of the plant. This size will give your rubber tree enough space to grow and thrive without feeling too lost in its container.
When selecting a pot, earthenware is always a fantastic option. Unglazed earthenware allows moisture in the soil to evaporate more quickly, helping to prevent overwatering. On the other hand, a glazed earthenware pot will retain moisture longer, which may not be ideal for a rubber tree.
I personally use both types of pots, but one crucial aspect to remember is to ensure that your pot has a drainage hole. This feature is essential, as standing water can lead to root rot and ultimately kill your rubber tree.
Selecting the Right Soil
Once you have your pot sorted out, it’s time to consider the soil. Rubber trees thrive in well-draining soil. An all-purpose indoor potting mix works well, but I like to add some extra perlite to enhance aeration.
Perlite is an organic material derived from volcanic eruptions, and you can easily find it at most garden stores. To pot your rubber tree, start by scooping some of your potting mix and placing it at the bottom of the pot. Then, position your plant so that its base sits about 3 inches below the top of the pot.
Fill in the remaining space with soil, ensuring that your plant remains upright and straight. Use your hands to gently pack the soil down as you move around the pot. Once the sides are filled, add a small layer of soil over the top of your plant.
Final Steps and Placement
After potting your rubber tree, place it in the location where you intend to keep it. Rubber trees are known to dislike change, so it’s best to find a permanent spot for them. Keep in mind that repotting can sometimes cause your plant to drop leaves as it adjusts to its new environment, so don’t worry if this happens—it’s a normal part of the process.
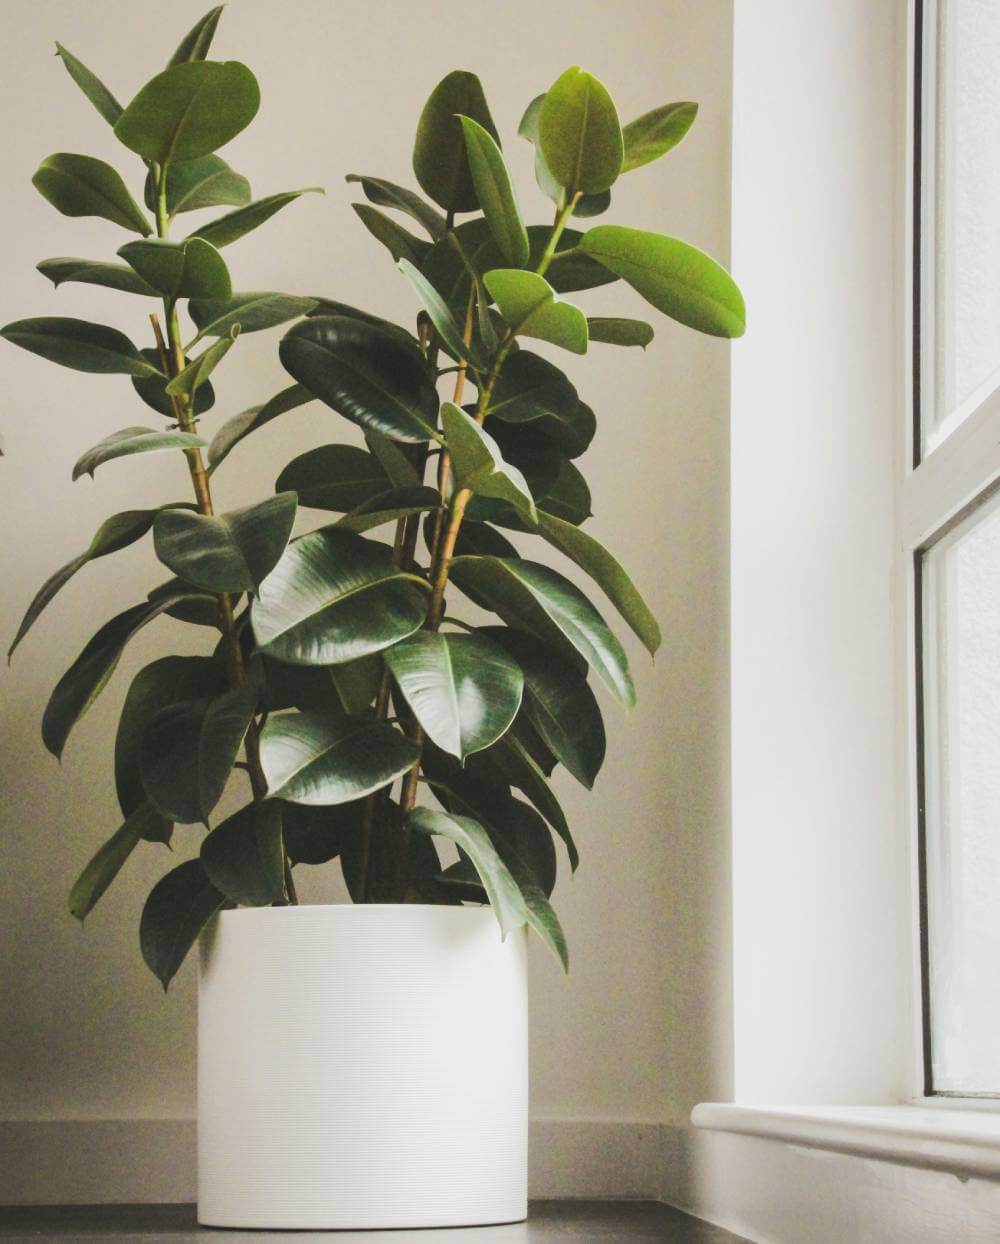
A period of rest is vital for your rubber tree after it has been repotted and relocated. If you’re unsure about the best spot to place your plant, consider areas with bright, indirect light, as rubber trees thrive in such conditions. Avoid placing it in direct sunlight, which can scorch the leaves, and ensure it’s away from drafts or extreme temperature changes.
By following these potting tips, you’ll set your rubber tree up for success, allowing it to flourish and become a stunning focal point in your home!
Light Requirements for Your Rubber Tree
The rubber tree is a plant that thrives on light, making its placement in your home crucial for maintaining its health. Here are some essential tips to ensure your rubber tree receives the right amount of light and care.
Ideal Placement
When choosing a spot for your rubber tree, the first consideration should be to avoid drafts, vents, or areas where an air conditioning unit blows directly on it. Exposure to drafts can lead to leaf drop or even the death of the plant. Rubber trees prefer indoor temperatures between 60-70 degrees Fahrenheit, so finding a stable environment is key.
Look for a location in your home that receives medium to bright light. The brighter the light, the faster your rubber tree will grow. If you place it in a darker area, the plant may become “leggy” as it stretches toward the light source. If you notice your rubber tree reaching for the light, simply move it to a brighter spot.
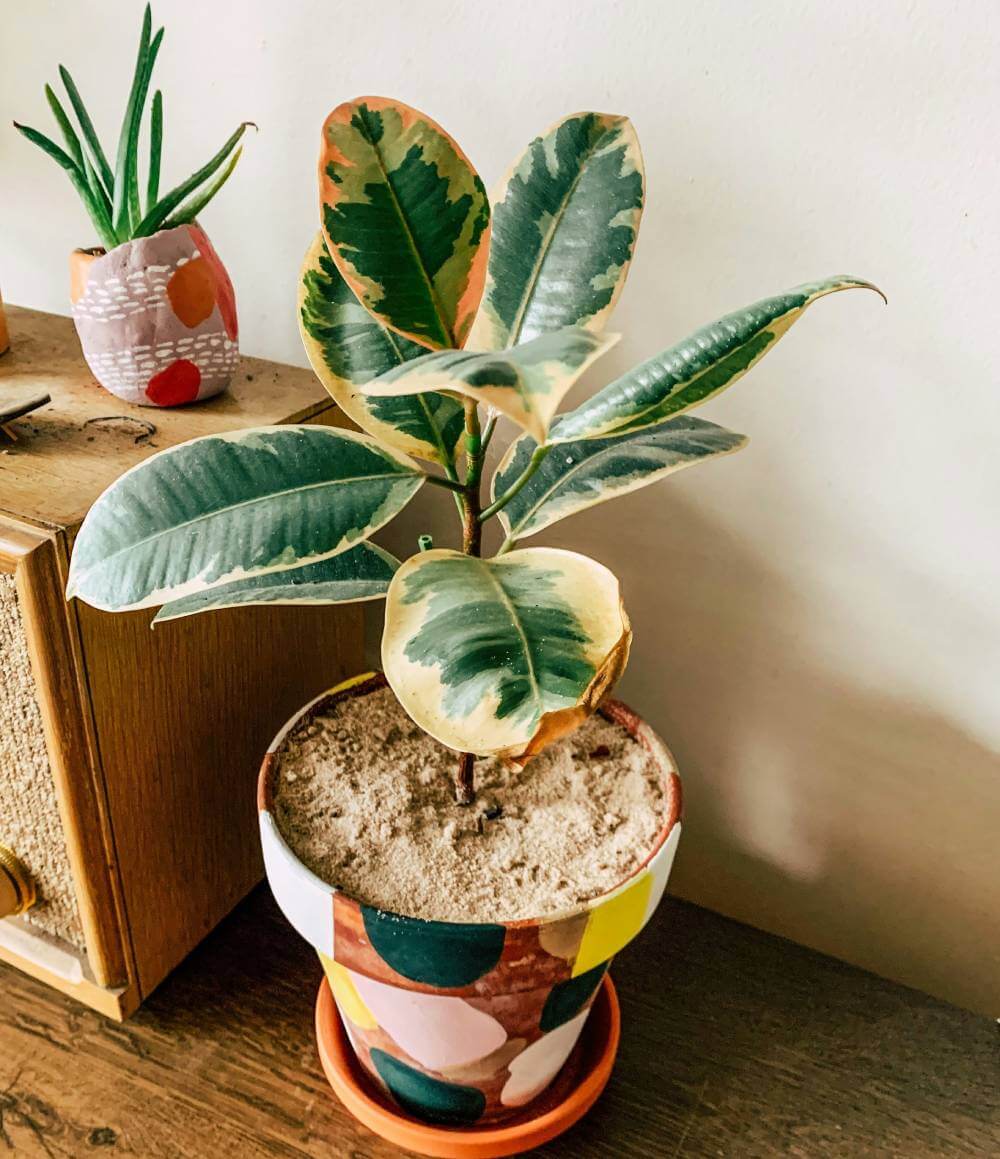
Variegated Rubber Trees
If you have a variegated rubber tree, such as the tricolor variety with green, white, and pink leaves, it’s important to note that these species require even more light. The white areas of the leaves contain less chlorophyll, making them more susceptible to burning. Keep an eye on the leaves; if you see any browning at the tips, it’s a sign that your plant is getting too much direct light.
Enhancing Light Conditions
What if your space doesn’t have great window light, or you’re concerned about it being too dark? One effective solution is to place a mirror near the plant. Mirrors can help bounce more light onto your rubber tree, enhancing its exposure.
Another simple yet effective tip is to paint your room white. White walls reflect light, creating a brighter environment for your plant. This can be particularly helpful in low-light situations, making a noticeable difference in your rubber tree’s health.
Keeping Leaves Clean
To maximize light exposure, it’s essential to keep your rubber tree’s leaves free of dust. I’ve noticed that rubber trees can accumulate dust quite quickly, so it’s a good idea to check the leaves every few weeks for any buildup.
If you find dust, use a damp cloth to gently wipe the leaves clean. However, be cautious with new leaves, as they are thin and fragile. If they get damaged while young, imperfections will remain for the life of the leaf.
When dusting mature leaves, support the leaf with your hand from underneath to prevent it from snapping. I’ve experienced the disappointment of a snapped leaf before, and it’s quite disheartening. When a leaf breaks, a white sap-like liquid will ooze from the break. This is completely normal, but it can irritate some people’s skin, so it’s wise to wash your hands after handling the plant.
Watering Your Rubber Tree
Establishing a consistent watering rhythm for your rubber tree is essential for keeping it alive and healthy for years to come. Understanding your plant’s watering needs will give you the confidence to care for it effectively.
Signs of Thirst
If you notice the leaves starting to droop, it’s a clear indication that your rubber tree is thirsty. Rubber trees prefer to dry out between waterings, but they don’t like to become completely bone dry. Another sign that your plant needs water is when you’re watering, and the water runs straight through the soil quickly. Soil that retains moisture will take longer to drain, so if the water flows out rapidly, it’s time for a good soak.
Watering Guidelines
Rubber trees enjoy generous watering, but it’s crucial to allow the soil to dry out to prevent root rot. Root rot occurs when the plant is waterlogged or sits in water for too long, and unfortunately, if this happens, your plant’s chances of survival diminish significantly.
As a general rule of thumb, let the top 2-3 inches of your plant’s soil dry out before watering again. This will help ensure that your rubber tree receives the right amount of moisture without becoming overwatered.
Checking Soil Moisture
To check if your rubber tree needs water, you can stick your finger into the soil about 3-4 inches deep to feel for moisture. Alternatively, you can lift the pot to see if it feels heavy from retained moisture. After watering, if any excess water drains into the saucer, be sure to discard it. Allowing your plant to sit in standing water can lead to root rot, so it’s important to keep the roots dry.
Adjusting to Your Environment
The frequency of watering will depend on your climate and humidity levels. If you live in a drier climate, your rubber tree will likely need more frequent watering. Once you determine your plant’s rhythm and how long it takes for the soil to dry out, maintaining a watering routine will become much easier.
I’ve found that keeping a simple watering schedule based on the season helps me stay consistent. During the warmer months, I check the soil more frequently, while in the cooler months, I tend to water less often. This adaptability has made a significant difference in my rubber tree’s health!
Pruning Your Rubber Tree
Pruning is an essential aspect of caring for your rubber tree, especially if you want to shape its growth and encourage a bushier appearance. Here’s what you need to know about pruning your rubber tree effectively.
Understanding Growth Patterns
If left unpruned, your rubber tree can grow quite tall, developing a single long trunk. This vertical growth can be desirable if you prefer a more minimalist, elegant look for your plant. However, if you’re aiming for a fuller, bushier appearance, regular pruning is key.
Encouraging Bushier Growth
To promote a bushier shape, you can use your fingers to pinch off new growing tips. This simple action encourages the plant to produce more branches, resulting in a denser and more vibrant tree. By removing the growing tip, you signal to the plant that it should focus its energy on branching out rather than growing taller.
Pruning Techniques
When you snip or prune a branch, the rubber tree responds by splitting that part into two branches as new growth emerges. This process not only enhances the fullness of the plant but also creates a more balanced appearance.
I’ve found that regular pruning not only helps shape my rubber tree but also makes it feel more alive and dynamic. Watching it grow new branches after a good prune is incredibly rewarding!
Timing and Frequency
Pruning can be done throughout the year, but the best time to prune your rubber tree is during its active growing season, typically in spring and summer. This timing allows the plant to recover quickly and encourages robust new growth.
Fertilizing Your Rubber Tree
Fertilizing your rubber tree is essential for promoting healthy growth and ensuring it thrives in your home. Here’s a guide on how to effectively fertilize your rubber tree for optimal results.
Timing Your Fertilization
The rubber tree loves to be fed during its active growing season, which typically spans spring and summer. During this time, you should fertilize your tree regularly to support its growth. A good rule of thumb is to fertilize every other watering session. However, as the seasons change and fall/winter approaches, it’s important to reduce or stop fertilizing altogether, as the plant’s growth slows down during these months.
Choosing the Right Fertilizer
I personally prefer using a liquid fertilizer that can be mixed with water. The advantage of liquid fertilizer is that it allows for even distribution throughout the water, ensuring that your rubber tree receives a consistent supply of nutrients. In contrast, granules or powder mixes can sometimes lead to uneven nutrient distribution.
When selecting a fertilizer, look for the NPK ratio on the package. The three letters represent:
N (Nitrogen): Essential for chlorophyll production, nitrogen plays a crucial role in photosynthesis, leading to a bigger and healthier plant.
P (Phosphorus): This nutrient is vital for maintaining healthy roots and promoting root growth, which is essential for overall plant health.
K (Potassium): Potassium helps your rubber tree distribute nutrients effectively and boosts its ability to fight off diseases, acting as an immunity booster for your plant.
A standard houseplant fertilizer will work well for your rubber tree, but always read the label and follow the instructions for the best results.
Application Tips
I like to use half of the recommended fertilizer amount for my rubber tree. Using too much fertilizer can lead to nutrient burn, which occurs when excess nutrients accumulate in the root system, preventing the plant from absorbing water effectively.
If you suspect that your rubber tree has received too much fertilizer, give it thorough watering to help flush out the excess nutrients. Afterward, refrain from fertilizing for at least a week to allow your plant time to recover and rest.
I’ve learned the hard way that less is often more when it comes to fertilizing. By using a diluted amount, I’ve seen my rubber tree thrive without the risk of burning, and it’s been a rewarding experience to watch it grow!
What If Your Rubber Tree is Dropping Leaves?
If you notice your rubber tree dropping leaves, it’s important to assess the situation to determine the cause. Here are some common reasons for leaf drop and how to address them.
Normal Leaf Drop
When you repot your rubber tree or move it to a new location, it’s quite common for it to drop a few leaves due to shock. This is a normal response as the plant adjusts to its new environment. Additionally, older leaves will naturally fall off as they age, which is also completely normal.
Excessive Leaf Drop
However, if your rubber tree drops a significant number of leaves at the same time, this is not typical and may indicate a problem. One of the most common culprits is overwatering. If you notice that your tree’s leaves are drooping, turning yellow, and eventually falling off, it’s likely due to excess moisture.
The yellowing of the leaves is known as Chlorosis. This condition occurs when chlorophyll production is hindered, signaling that your plant is in distress. It’s fascinating how plants can communicate their needs through color changes!
Addressing Overwatering
If you suspect overwatering, the first step is to reduce the frequency of watering and ensure that your plant has adequate time to dry out between waterings. This will help prevent waterlogging, which can lead to root rot.
If the problem persists, consider removing your plant from its pot to inspect the roots. The quickest way to determine if root rot has set in is to look for mushy, black, or dark roots. If you find this, there’s a chance your plant can be saved, but it may also be too late for the roots.
If you can salvage the plant, snip away the dead roots and repot it in fresh soil—avoid using the waterlogged soil from the previous pot. Give your rubber tree some time to recover, and hopefully, it will bounce back!
Lack of Light
Another reason your rubber tree’s leaves might be turning yellow is insufficient light. If this is the case, try moving your plant to a brighter location where it can soak up more sunlight. Sunlight acts like medicine for your plant, and increasing its exposure could resolve the leaf drop issue.
Additionally, ensure that your rubber tree is not placed near drafts, as this can also contribute to leaf drop.
Conclusion
The rubber tree is known for its easygoing temperament, making it a fantastic addition to any plant lover’s home. By understanding the reasons behind leaf drop and taking appropriate action, you can help your rubber tree thrive. I hope these tips assist you in nurturing your rubber tree, allowing you to enjoy its beauty for years to come!