Making candles is a super easy DIY project. You just need a stovetop or something similar to melt the wax. You can also use essential oils for fragrance, ensuring you thoroughly mix them with melted wax for an even distribution of scent.
I make candles for myself because I always have one burning in my kitchen in the evening. There’s something cozy and nice about the warm glow and scent of a candle.
I also love giving handmade candles as thoughtful gifts. A DIY candle is a great housewarming gift, a unique wedding present, a special birthday gift, or a lovely Mother’s Day or holiday gift—at least, that’s my opinion. I love candles!
What is Candle Making?
Candle making is the process of creating candles from raw materials such as wax, wicks, and fragrances. It involves melting the wax, adding the wick and fragrance, and shaping the candle into the desired form. This craft can be as simple or as intricate as you like, making it a versatile hobby for all skill levels. From classic jar candles to intricate molded designs, the art of candle-making allows you to express your creativity and produce something truly unique.
Benefits of Making Your Own Candles
Making your own candles comes with several benefits. Firstly, it allows you to customize the color, fragrance, and shape of your candles to suit your personal preferences. You can experiment with different waxes, wicks, and scents to create a candle that is uniquely yours. Additionally, making your own candles is cost-effective. By purchasing raw materials in bulk, you can produce multiple candles at a fraction of the cost of store-bought ones. Lastly, candle-making is a relaxing and rewarding hobby. It provides a creative outlet and the satisfaction of crafting something beautiful with your own hands. Plus, homemade candles make wonderful personalized gifts for friends and family.
Candle Making Supplies – Basics
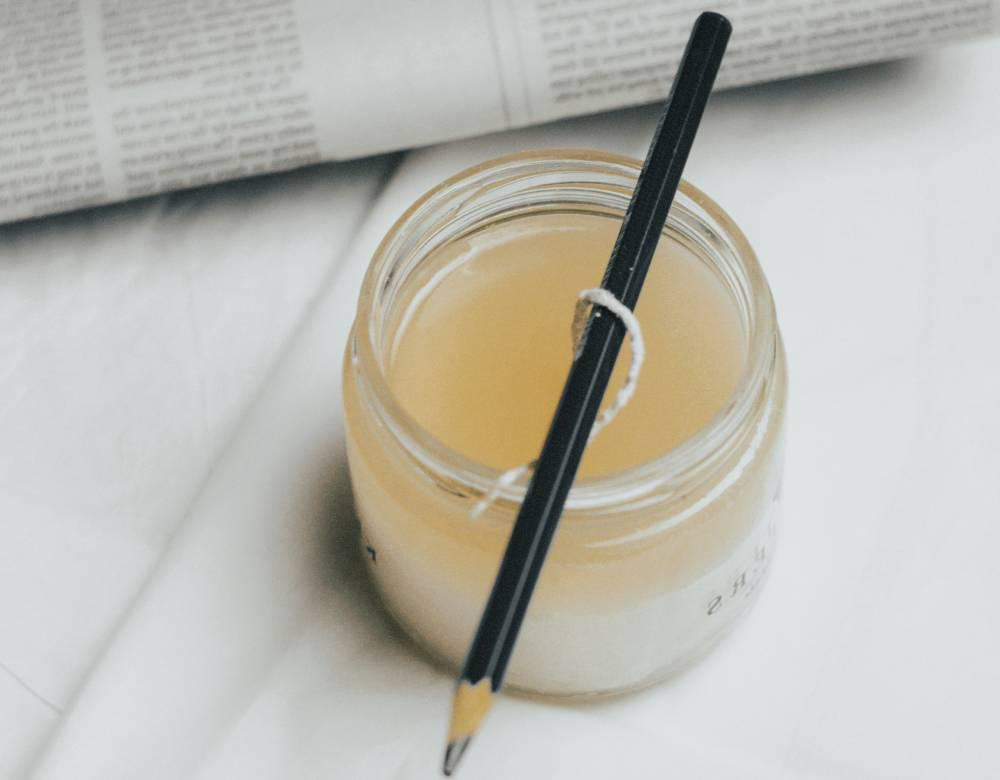
To make candles, you’ll need a few basic supplies, like soy wax flakes. Here’s what you’ll need:
Wax: Beeswax, soy wax flakes, paraffin, palm or gel.
Wick: ECO wicks, hemp or wood, are in different sizes depending on the thickness of your candle.
Wick Stickers or Hot Glue: Use these with a glue gun to secure the wick in place.
Scent: Essential oils or fragrance blend.
Containers/Vessels: Where you’ll pour the melted wax into, such as candle jars.
Melting Pot and Larger Pot: A double boiler setup is best for melting the wax safely.
Kitchen Thermometer: To measure the temperature of the wax as it melts.
Measuring Cups and Spoons: These are used to measure the wax and scent.
Mixing Spoon: Mix the wax and scent.
Clothespin or Other Stick: To hold the wick in place while the wax sets (pencils, skewers, or chopsticks work too).
Candle Wick Trimmer or Scissors: To trim the wick to the desired length.
Kitchen Scale: Optional, but it is nice to have precise measurements.
Now, you have all the supplies you need to get started!
How to Make a Candle—Basics
Making your own candles is a fun and easy DIY project. You can customize scents, colors, and styles to your liking. Here’s a step-by-step guide to making candles at home.
Measure Out Your Wax: First, you’ll need to measure your wax. The easiest way to do this is to fill your container (such as a candle jar) with wax pellets. Once filled, use your kitchen scale to weigh the wax. This will also help you calculate how much scent oil to use, as a general rule of thumb is to use 1 ounce of fragrance oil per pound of wax.
Add Wax to Melting Pot: Pour the measured wax into your melting pot. If you’re using different types of wax (like a blend of soy and paraffin), make sure to mix them together before melting.
Prepare the Double Boiler: In your larger pot, add enough water to cover your melting pot at least halfway. This will create gentle and even heat, prevent the wax from overheating, and ensure a smooth melt.
Heat the Double Boiler: Heat the larger pot with the water and melting pot over medium heat. This is a double boiler setup like you would use to melt chocolate. You can melt the wax directly in the melting pot, but using a double boiler is safer and helps preserve the wax.
Heat the Wax: Get the wax to 185°F. Use your thermometer to check the temperature. This is the ideal temperature for most waxes as it allows for a good scent throw and proper binding of the fragrance oil.
Add Scent Oil: Once the wax reaches the temperature, add the scented oil. Mix it well to ensure the fragrance is evenly distributed in the wax. This is important for a strong and consistent scent when the candle is burned.
Cool the wax: After adding the scent, turn off the heat and let the wax mixture cool to 125°F before pouring. This cooling time is important as pouring the wax at the right temperature will prevent surface imperfections and give you a smooth finish.
Prepare the Wick: While the wax is melting (or as it cools), prepare your wick. Use a wick sticker or hot glue to attach the metal bottom of the wick to the bottom of the container. This will hold the wick in place while you pour the wax. Then, use a clothespin or stick to hold the top of the wick in place so it stays centered when you pour in the wax. This step is crucial for an even burn.
Pour the Wax: Pour the wax into your container. If the wick shifts during pouring, adjust it while the wax is still hot and liquid. Pour slowly to minimize air bubbles and get a smooth surface. If you’re using colored wax, you can add dye at this stage to get your desired color.
Let the Candle Set: Let the candle cool and harden completely. This can take several hours, depending on the size of your candle. Don’t move the candle during this time to prevent imperfections.
Trim the Wick: Once the candle is hard, trim the wick to your desired length—about 1/4 inch above the wax. This will give you a clean burn and prevent soot.
Cure the Candle: For the best scent throw, consider curing your candle for a few days before burning it. This will allow the fragrance to bind with the wax and give you a better overall scent experience.
Enjoy Your Candle: Light your candle and enjoy the warm glow and pleasant aroma it brings to your space. Homemade candles make great gifts for friends and family, too, and they add a personal touch to any occasion.
Types of Wax & Wicks
When it comes to candle making, the type of wax and wick you use can make a big difference in the quality and performance of your candles. For example, wax flakes are a popular choice due to their ease of use and cost-effectiveness. Here’s a breakdown:
Types of Wax: Paraffin Wax
Beeswax: This natural wax is from honeybees and has a sweet fragrance without the need for added oils. Beeswax candles burn longer and cleaner than many other waxes, making them a popular choice for those looking for a more natural option. However, beeswax can be more expensive than other waxes. If you’re interested, you can learn how to make your own beeswax candles for a true homemade experience.
Soy Wax: Soy wax is a natural wax made from soybeans. It is often blended with other materials, so be sure to check the label for purity. Soy wax is generally less expensive than beeswax and has a great scent throw, so it’s a favorite among candle makers. If you’re interested in the process, you can find tutorials on how to make soy candles.
Paraffin Wax: This is the most affordable option and is made from petroleum. Paraffin wax is widely used and available but is the least natural of the options here. It can produce soot when burned and may not be the best choice for those looking for an eco-friendly candle.
Types of Wicks
ECO Wicks: Made from a blend of cotton and paper, ECO wicks are for a clean burn and are often used in natural wax candles. They are known for their stability and consistent flame.
Hemp Wicks: These wicks are made from hemp fibers and are an eco-friendly option. Hemp wicks burn slowly and are even good for any type of wax.
Wood Wicks: Wood wicks create a unique ambiance with a crackling sound like a fireplace. They require a special technique to use, so if you’re interested in trying them out, check out DIY wood wick candles to learn more about the process and how to get the best results.
What is Scent Throw in Scented Candles?
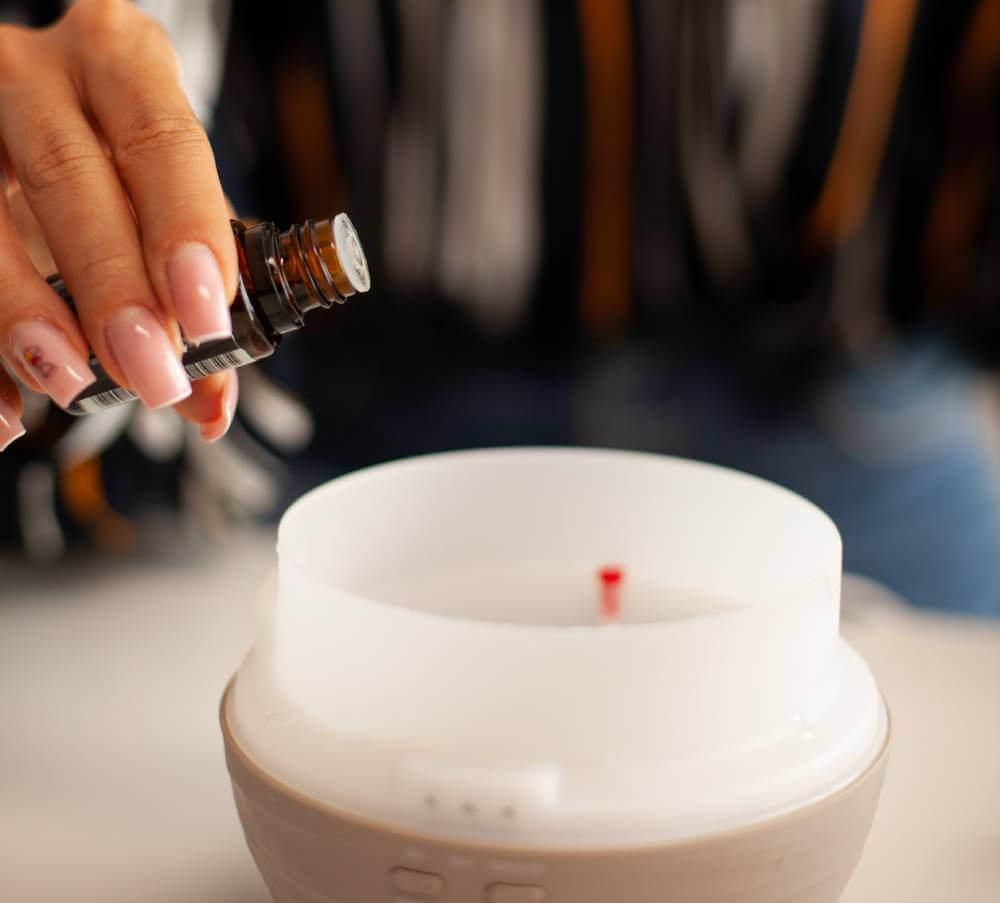
The scent throw is the area around your candle where the fragrance is detectable as it burns. Scented candles are a big part of candle making as they determine how well the scent will disperse in a room. Several factors affect scent throw:
Type of Wax: Different waxes have different melting points and scent retention. Generally, waxes with higher melting points will have a smaller scent throw. Beeswax and paraffin wax can behave differently when it comes to releasing fragrance when burned. Personally, I find soy wax has a great scent throw and is more eco-friendly, which is a big plus for me.
Wick size: The size of the wick is important for how much wax is melted and how fast it burns. A thicker wick will create a larger melt pool, which can increase the scent throw. But if the wick is too thick, it can get too hot and cause the candle to burn too fast or produce soot. I’ve tried different wick sizes, and I find that a medium wick is just right for my candles.
Amount of Scent Oil: The amount of scent oil, such as fragrance oils, added to the wax is essential for the fragrance’s strength. It might seem logical to think that more scent oil will always mean more scent throw, but that’s not always true. If you add too much oil, it can weigh down the wax, cause poor scent distribution, and even affect the burning of the candle. I’ve learned through trial and error that following the recommended ratio of scent oil to wax is key to a pleasant aroma without overwhelming the senses.
Temperature of the Wax When Adding Scent Oil: The temperature of the wax when you add the scented oil can affect how well the fragrance binds to the wax. Ideally, you should add the scented oil when the wax is at the recommended temperature (usually around 185°F for most waxes). This allows for better absorption and more scent throw. I always have a thermometer handy so I can add the scented oil at the right time, as it makes a big difference in the end product.
Scent Oil Usage Guidelines
As a general rule of thumb, use 1 ounce of scent oil per 1 pound of wax. This will give you a strong enough fragrance to fill the space without overwhelming the candle. Once you know how much wax will fit in your container, use a kitchen scale to get accurate measurements. Then, you can calculate the right amount of scent oil to use and have a balanced and fragrant candle.
How to Make Molded Candles with Soy Wax Flakes?
Molded candles, such as DIY candles, are a fun and creative way to make unique shapes without the need for containers. You can try out different designs and styles, and the best part is that you can reuse the molds if you take care of them.
Mold Ideas
Bubble Candle Molds: These molds make trendy bubble-shaped candles that are fun to make.
Twisted Candle Stick Molds: Perfect for making elegant twisted candle sticks to add some elegance to any room.
Knot Candle Mold: These molds make knot-shaped candles that are artistic and beautiful.
Geometric Candle Molds: Perfect for modern designs, geometric molds can make candles in different shapes, such as cubes, pyramids, or hexagons.
Working with Melted Wax
Working with melted wax requires some basic safety precautions to ensure that you don’t get burned or injured. Here are some tips for working with melted wax safely:
Safety Precautions for Melted Wax
When working with melted wax, it’s essential to take some basic safety precautions to avoid getting burned or injured. Here are some tips:
Use a Double Boiler: Always use a double boiler or a dedicated candle-making pot to melt the wax. This method helps distribute the heat evenly and prevents the wax from getting too hot, reducing the risk of burns and accidents.
Monitor the Temperature: Use a thermometer to keep an eye on the temperature of the wax. Never let it exceed 200°F (93°C) to avoid overheating and potential hazards.
Keep Away from Children and Pets: Ensure that the melted wax is kept out of reach of children and pets. Also, work in a well-ventilated area to prevent the buildup of fumes.
Use Heat-Resistant Tools: Stir the wax with a heat-resistant spatula, and avoid using metal utensils, as they can conduct heat and cause burns.
Wear Protective Clothing: Always wear protective clothing, such as gloves and a long-sleeved shirt, to prevent skin irritation and burns from hot wax.
By following these safety precautions, you can ensure that you work with melted wax safely and effectively, making your candle-making experience enjoyable and accident-free.
Where to Get Containers for Your Candles?
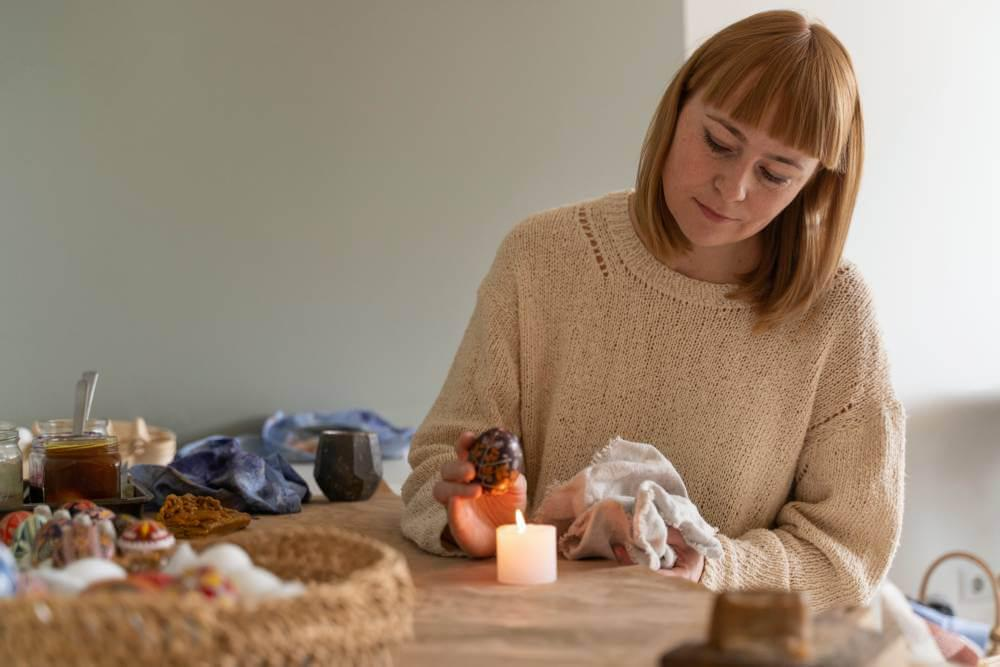
When making a homemade candle, the right container is important for both looks and functionality. Here are some great places to get containers, whether you want to repurpose old items or buy new ones.
Used Containers
Thrift Stores: Thrift shops are a treasure trove for unique and affordable candle containers. You can find glass, ceramic, and porcelain items that can be repurposed into beautiful candle holders. Look for interesting shapes and designs that will add character to your candles.
Cleaned-Out Food Containers: Don’t forget food containers like pickle jars, mason jars, or other glass containers you have at home. Just make sure to clean them thoroughly to remove any residual odors or oils. These containers will add a rustic touch to your candles.
Other Used Glass or Porcelain Containers: Use items you already have, like old teacups, bowls, or decorative dishes. Just make sure they are heat resistant and safe for candle making. Don’t use containers that can melt or catch fire, like plastic or thin glass that can’t withstand the heat.
New Containers
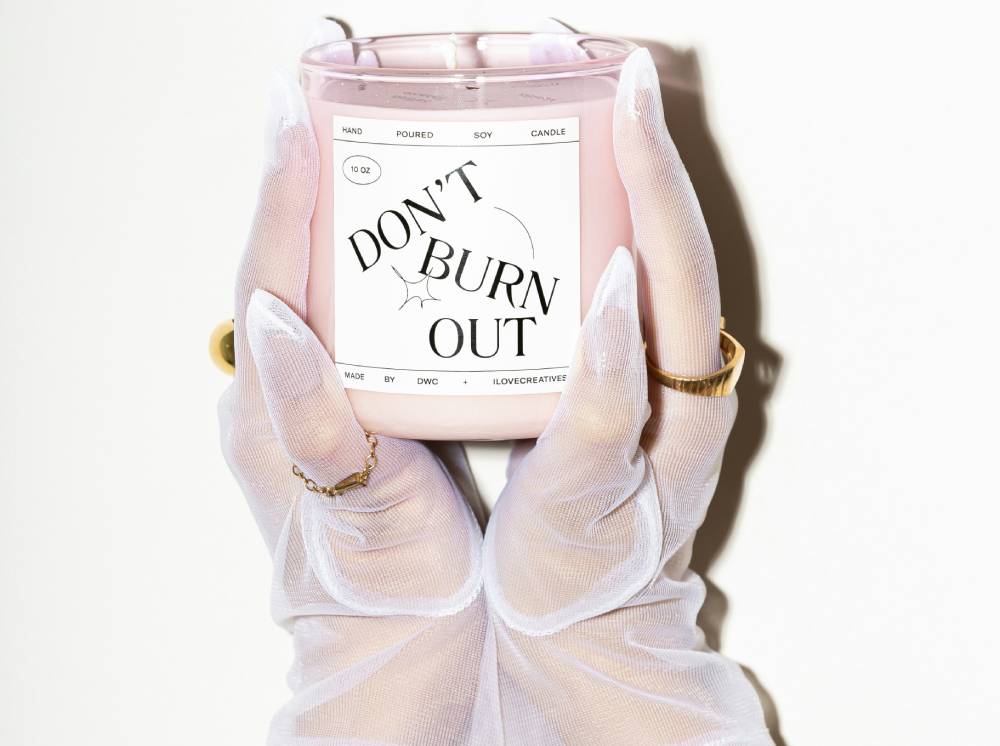
Pretty Pink Glasses: Find decorative glassware in fun colors, like pink, to add a splash of color to your candles. It’s available at home goods stores or online.
Colorful Handblown Glass: Handblown glass containers are beautiful and one-of-a-kind. They come in different shapes and colors, so you can showcase your candles.
Footed Planters: Footed planters can also be used as candle containers. Their elevated design adds elegance, and they are available in ceramic and metal.
Reusing Containers
If you’re using old containers, you might want to know how to remove candle wax from them so you can reuse them. Here’s how:
Freezing: Put the container in the freezer for a few hours. The cold will cause the wax to contract, and you can pop it out.
Hot Water Bath: Alternatively, you can put the container in a pot of hot water (not boiling) to melt the remaining wax. Once softened, wipe it out with a paper towel.
Cleaning: After removing the wax, wash the container with warm, soapy water to make it clean and ready for your next candle-making project.

